I’ve noticed that many people have many issues with set up of SSL for SOLR instance. In this blog post you will find everything what you need to know to do this. Just follow all steps which you will find below.
- Download SOLR 6.2.2
If you want to install SOLR on Windows get zip file from following page: http://ftp.ps.pl/pub/apache/lucene/solr/6.6.2/
then extract files into (you can choose different directory if you want).C:\solr\solr-6.6.2
- Download Not Sucking Service Manager and install Solr as a service
You will find zip here: https://nssm.cc/download – just extract it somewhere and go to this path in your PowerShell window. Then call.\nssm.exe install NameOfSolrService
and you will see new window with some settings. Set there following values:
- Path: C:\solr\solr-6.6.2\bin\solr.cmd

- Startup Directory: C:\solr\solr-6.6.2\bin

- Arguments: start -p 662 -f -v
After form submission you should see new service on the list of services (Windows > Run > Services) . If your service is not running – just run it from services windows – it will start automatically after restart.
We have chosen port 662 so our SOLR instance currently will be available under url http://localhost:662/solr/ - Generate SOLR Certificates
We use approach from this website https://lucene.apache.org/solr/guide/6_6/enabling-ssl.html#EnablingSSL-BasicSSLSetup
At the beginning you should check if you have JRE installed – if not install it and then in the pathC:\Program Files (x86)\Java\jre1.8.0_141\bin\keytool.exe
you will find keytool.exe which will generate certificates for you (you might have different path – depends on version of JRE).
Then open again PowerShell and enter into SOLR directoryC:\solr\solr-6.6.2\server\etc
and run following command
& 'C:\Program Files (x86)\Java\jre1.8.0_141\bin\keytool.exe' -genkeypair -alias solr-ssl -keyalg RSA -keysize 2048 -keypass secret -storepass secret -validity 9999 -keystore solr-ssl.keystore.jks -ext SAN=DNS:localhost,IP:127.0.0.1 -dname "CN=localhost, OU=Organizational Unit, O=Organization, L=Location, ST=State, C=Country"
You should notice that we have got there keypass equal to “secret” which can be changed on local, and should be changed on other environments.
Then we need to convert key to PEM format with command:& 'C:\Program Files (x86)\Java\jre1.8.0_141\bin\keytool.exe' -importkeystore -srckeystore solr-ssl.keystore.jks -destkeystore solr-ssl.keystore.p12 -srcstoretype jks -deststoretype pkcs12
You will be asked few times for password – use “secret” or your own.
Then we need to convert generated key for next format with OpenSSL – download OpenSSL from here https://indy.fulgan.com/SSL/openssl-0.9.8r-x64_86-win64-rev2.zip and extract intoC:\Program Files (x86)\OpenSSL
and run command:
& 'C:\Program Files (x86)\OpenSSL\openssl.exe' pkcs12 -in solr-ssl.keystore.p12 -out solr-ssl.pem
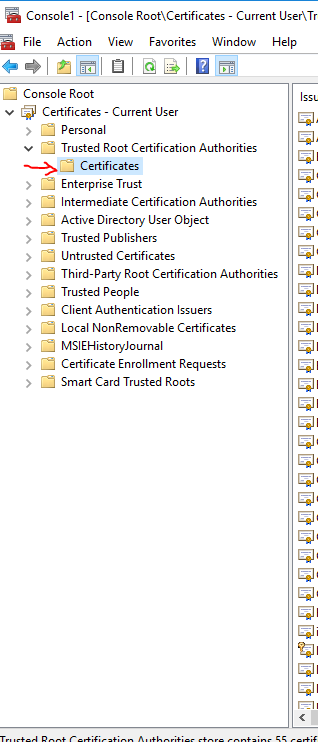
- Import certificate to the trusted certificates
Opem “Windows > Run > mmc” and manage certificates. Import created certificate to the list of trusted ones.
- Change SOLR settings
In final step you need to change yours configuration for SOLR. Open SOLR server directoryC:\solr\solr-6.6.2\bin
and open to edit of solr.in.cmd file. Then add at the end following settings:
set SOLR_SSL_KEY_STORE=etc/solr-ssl.keystore.jks

set SOLR_SSL_KEY_STORE_PASSWORD=secret

set SOLR_SSL_TRUST_STORE=etc/solr-ssl.keystore.jks

set SOLR_SSL_TRUST_STORE_PASSWORD=secret

REM Require clients to authenticate

set SOLR_SSL_NEED_CLIENT_AUTH=false

REM Enable clients to authenticate (but not require)

set SOLR_SSL_WANT_CLIENT_AUTH=false
- Test
To test if it works you need to restart yours SOLR service. After restart SOLR will not longer work with http protocol – so you need to go into “https://localhost:662/solr” to check how your SSL works.
And now you are ready to install Sitecore 9 and xConnect. Have a good fun with it!