I had an opportunity to work again with SPEAK 2 and I have got few new tips for you.
If you have not seen yet my previous article – you can (if you are new in SPEAK you should) check it here. You have seen it? – great, we can move forward.
How to create custom component in SPEAK 2
I was looking for the answer for some time and I have found many blog posts which are not up to date – every time when I was trying to run the code, something was wrong. Hopefully my solution will work longer and for everyone 🙂
Before we will start – remember one thing – location of files and items is extremely important in SPEAK2.
To create custom component you need to prepare following things:
- item in core database – to define the component
- cshtml file to define how it looks like
- JavaScript file to define how it works
Item with definition in core database
In manuals on the internet you will find the information that you can put custom component in the structure tree below your SPEAK application – in this case structure would look like this:
- YOUR'S SPEAK APP
 -- Renderings Folder
 --- Definition of the custom rendering
Probably it would work for SPEAK1 but will not work for SPEAK2. In new version of SPEAK you should put all your components in the place where all predefined components are “/sitecore/client/Business Component Library/version 2/Layouts/Renderings”.
So we are starting from creation of new directory for the component:

Then inside this directory we have to create definition of our component:


As you probably have noticed it is just a “View Rendering”. Inside this item we should define values at least for following fields:
- Path (path to the file with view)
- Model (definition of model which we want to use in our view – in my case I took just one prepared by Sitecore)
- Parameters Template (item with configuration of parameters for the component)
Ok, before we will select value in Parameters Template field we have to create the configuration item – it should be placed below the Custom Component.
 Yes it is template and it is a good idea to inherit fields from one of available base templates.
 In my case I have selected “ButtonControlBase” template – later you can specify “__Standard Values” item.
Great – we have definition of our component – it is time for some coding.
File with definition of view
Files, exactly as items, should be placed in particular directory. In the case of our component it will be:
\sitecore\shell\client\Business Component Library\version 2\Layouts\Renderings\CustomComponent
Inside this path we can then create CustomComponent.cshtml file with content:
So at the end it will look like this:

Ok, we have our view – it is time for some JavaScript.
File with JavaScript code
JavaScript file should be placed in the same directory as cshtml file.

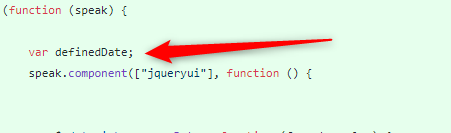
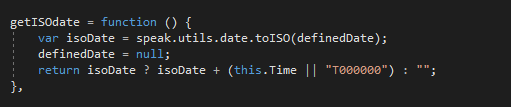
When we develop new component we should always define “initialize” function which will be called every time when our component will be displayed. We can also define own functions – like I defined “getTheListOfComponents”.
My function is taking the list of components from the application and then display some html.
As you can see there – I use “Sitecore.Speak” in JavaScript code – it is JavaScript object provided by Sitecore.
Inside Sitecore.Speak you will find a lot of useful functions and properties. Just open your browser console and play with it.

What next?
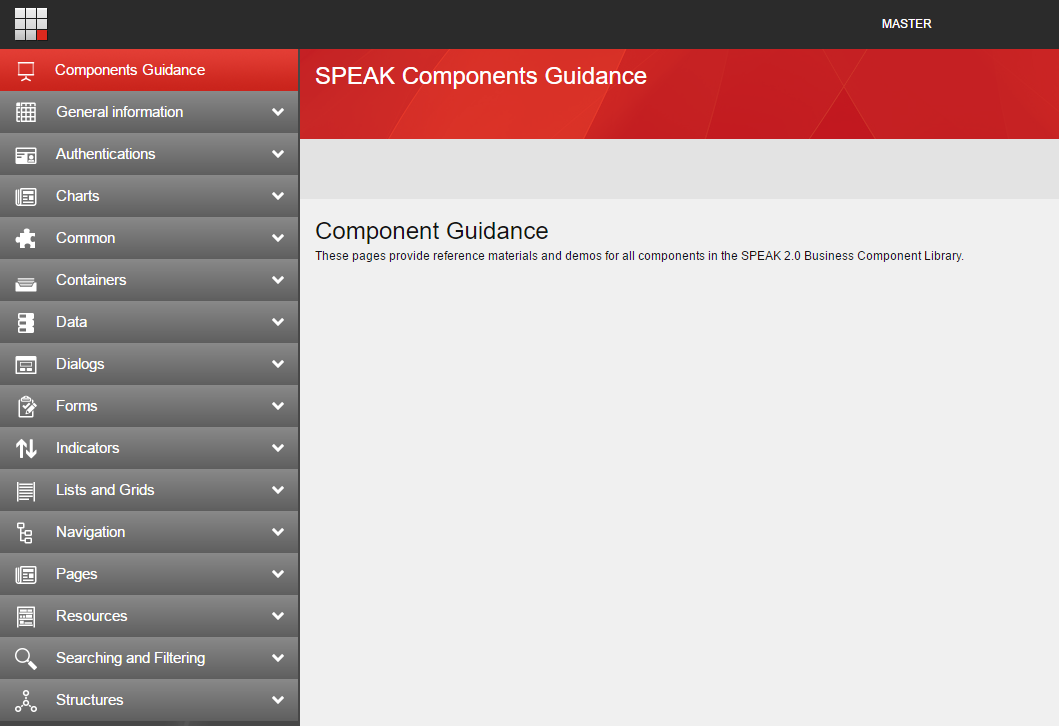
At this point you should have defined component with some HTML and JavaScript – it means that you should be able to use that component in the same way as others developed and provided by Sitecore.
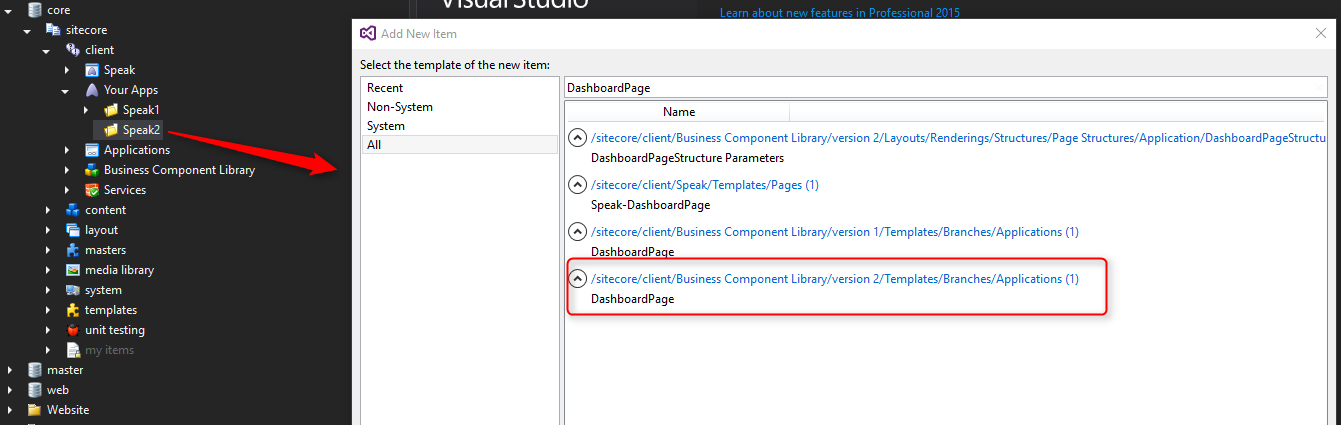
To test our new component you need to define own application (If you do not know how to do this – check my previous post about SPEAK).
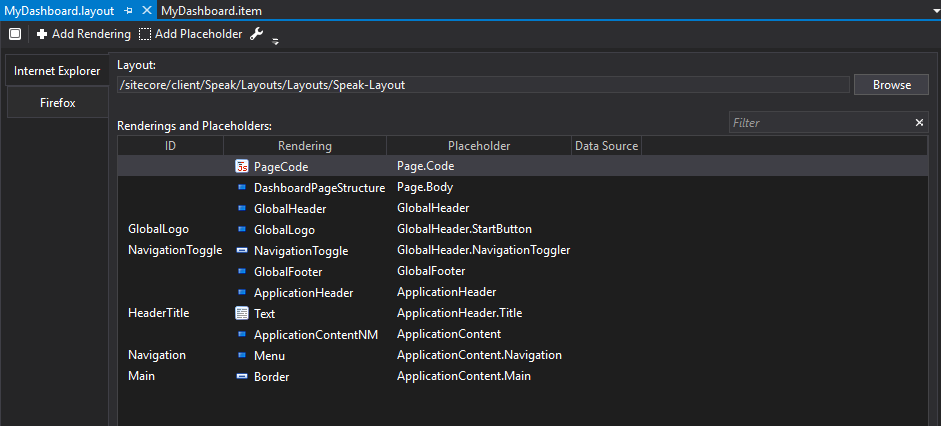
There is one extremely important thing which you have to check before you will put any SPEAK2 component in your application – configuration of the PageCode component.

Open “Design Layout” for your page and check the properties of “PageCode”. In the field “SpeakCoreVersion” you should have selected value “SPEAK 2-x”.
Now, when we are sure that everything is set properly – it is time to add new rendering to our application.

When your’s component is added – remember to define properly “PlaceholderKey” to be sure that your component will be visible.

In my case it is “ApplicationContent.Main” – but it strongly related to the structure of your application.
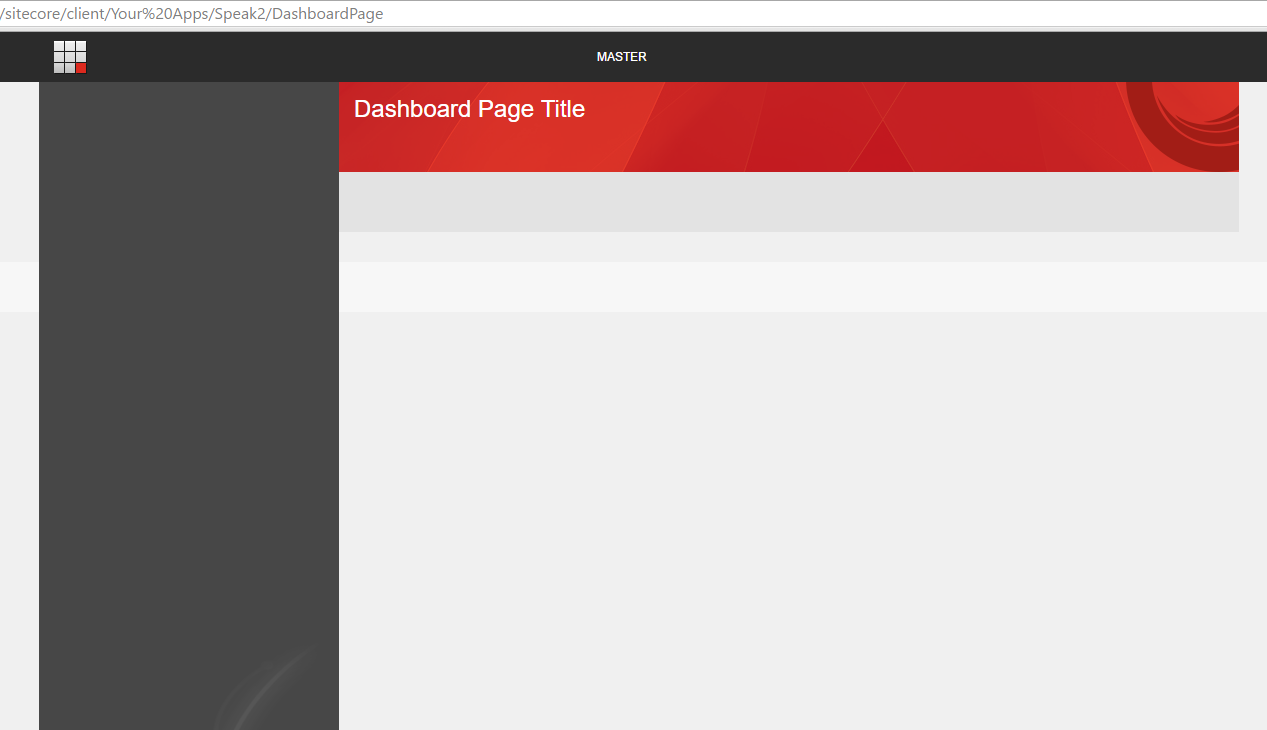
As a result you will see your content from the view:

That is cool! But you probably remember that we had also a custom function “getTheListOfComponents” – it is time to use it!
We can call our function from many places – to be honest, from every place where Sitecore.Speak object is available. We just need to use code:
Sitecore.Speak.app.COMPONENT_ID.FUNCTION()
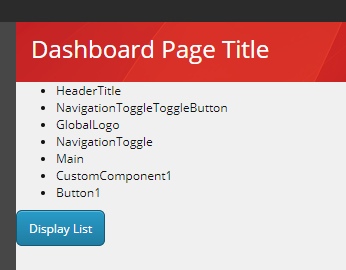
In my example I will use button. Below the custom component I added Button rendering and I set the value “javascript:app.CustomComponent1.getTheListOfComponents()” in “Click” field:

Finally we have component and the button:

When we will click the button – our action will trigger the function from the Custom Component and will display the list of components inside it.
It is alive! What means that you can do with it everything what you want – have a fun 🙂
Common issue
During development of my custom component I had and error message from Sitecore JavaScript library.
"Uncaught TypeError: Cannot read property 'model' of undefined"
Error was thrown from scSpeakPresenter.js file


More interesting was the fact that this part of code is not called by existing Sitecore components – it is called only when you register own components.
At this level you can also notice that even when we call SPEAK 2 components they are loaded with SPEAK 1 url
~/speak/v1
It means that we have there routing and behind it we have some code which search for particular files to load all ingredients of the component.
Because of that if you will put your files in wrong directory you will see an error similar or exactly the same which I had – check locations of your files once again. The second option – you forgot about the SpeakCoreVersion setting inside PageCode properties.


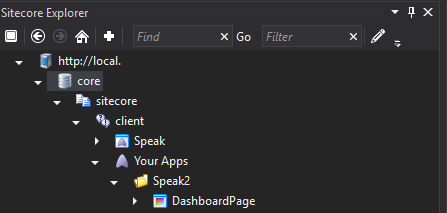
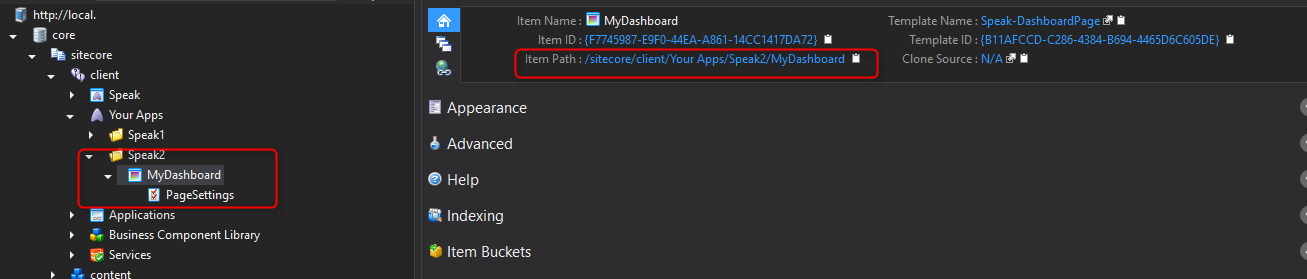
 As result you should see item with PageSettings item under your page item.